 |
| first you get your plans and transfer them to your marine plywood |
 |
| next you cut out all the bits and pieces |
 |
and join up the long parts

 |
| stitch the hull together |
 |
| use the forms as instructed |
 |
| and before you know it you have the beginning of a kayak |
 |
| kitchen tricks help with the epoxy |
 |
| the inside seams are strengthened |
 |
| and then fiber or carbon is layered on the inside of the hull |
 |
| inside of hull is glassed up |
 |
| now turn over for the outside |
 |
| if you want to paint the wood this is a good time |
 |
| it helps to read the manual from time to time |

 |
| fiberglass and epoxy on the outside of the hull next |
 |
| as the cloth absorbs the epoxy the color shines through |
 |
| almost done |
 |
| the excess epoxy is scraped off |
 |
| now work on the deck can begin |
 |
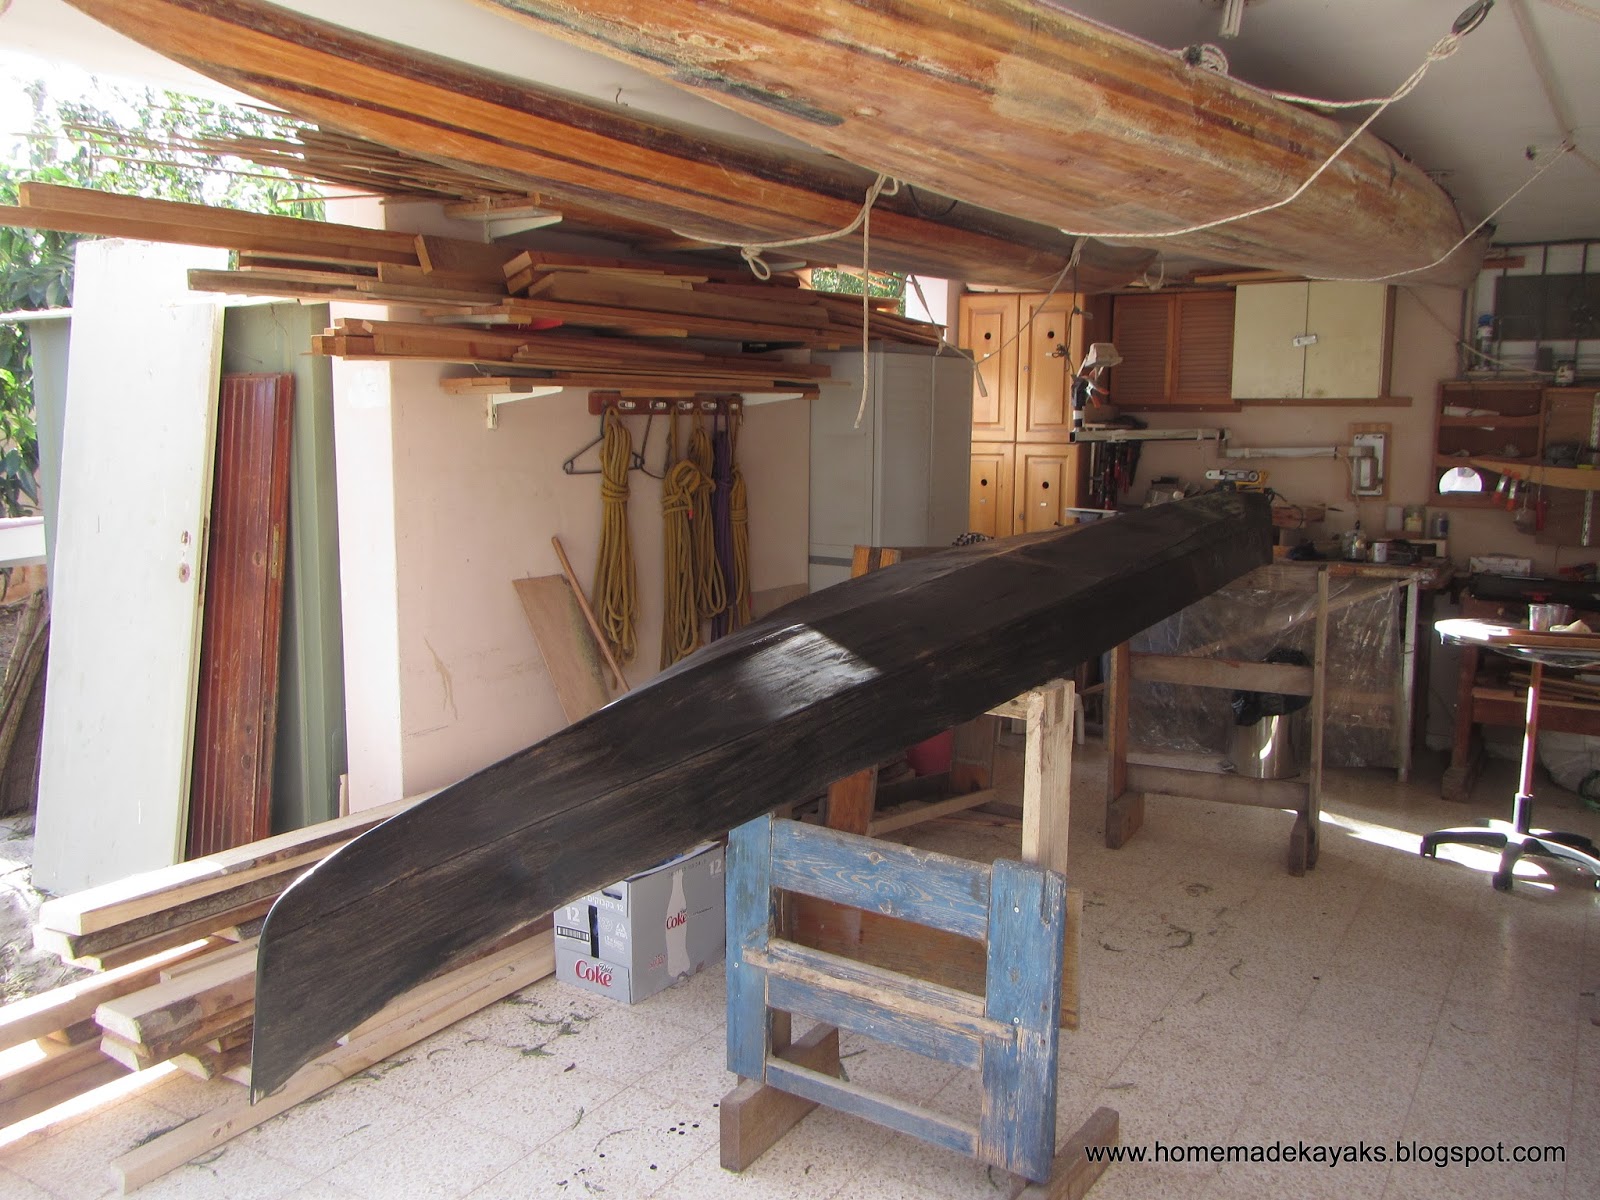
| it helps to have a nice long work surface |
 |
| stitching the deck |
 |
| superglue holds the pieces together while the stitches are removed |
 |
| thickened epoxy in the inside seams |
 |
| fiberglass comes next |
 |
| then epoxy |
 |
| yes, we have a kayak |
 |
| almost ready |
 |
| lets go to the beach already |
 |
| wow, its great |
 |
| carrying holds with a no knocking effect. |
No comments:
Post a Comment